> ## Documentation Index
> Fetch the complete documentation index at: https://developers.chatwoot.com/llms.txt
> Use this file to discover all available pages before exploring further.
# S3 Bucket
> Configure Amazon S3 bucket as storage in Chatwoot
## Using Amazon S3
You can get started with [Creating an S3 bucket](https://docs.aws.amazon.com/AmazonS3/latest/gsg/CreatingABucket.html) and [Create an IAM user](https://docs.aws.amazon.com/IAM/latest/UserGuide/id_users_create.html) to configure the following details.
Configure the following env variables.
```bash theme={null}
ACTIVE_STORAGE_SERVICE='amazon'
S3_BUCKET_NAME=
AWS_ACCESS_KEY_ID=
AWS_SECRET_ACCESS_KEY=
AWS_REGION=
```
## S3 Bucket policy
Inorder to use S3 bucket in Chatwoot, a policy has to be set with the correct credentials. A sample policy is given below, as the listed actions are required for the storage to work.
```json theme={null}
{
"Version": "2012-10-17",
"Id": "Policyxxx",
"Statement": [
{
"Sid": "Stmtxxx",
"Effect": "Allow",
"Principal": {
"AWS": "your-user-arn"
},
"Action": [
"s3:DeleteObject",
"s3:GetObject",
"s3:ListBucket",
"s3:PutObject"
],
"Resource": [
"arn:aws:s3:::your-bucket-name",
"arn:aws:s3:::your-bucket-name/*"
]
}
]
}
```
Replace your *bucket name* in the appropriate places.
**User ARN** can be found using the following steps:
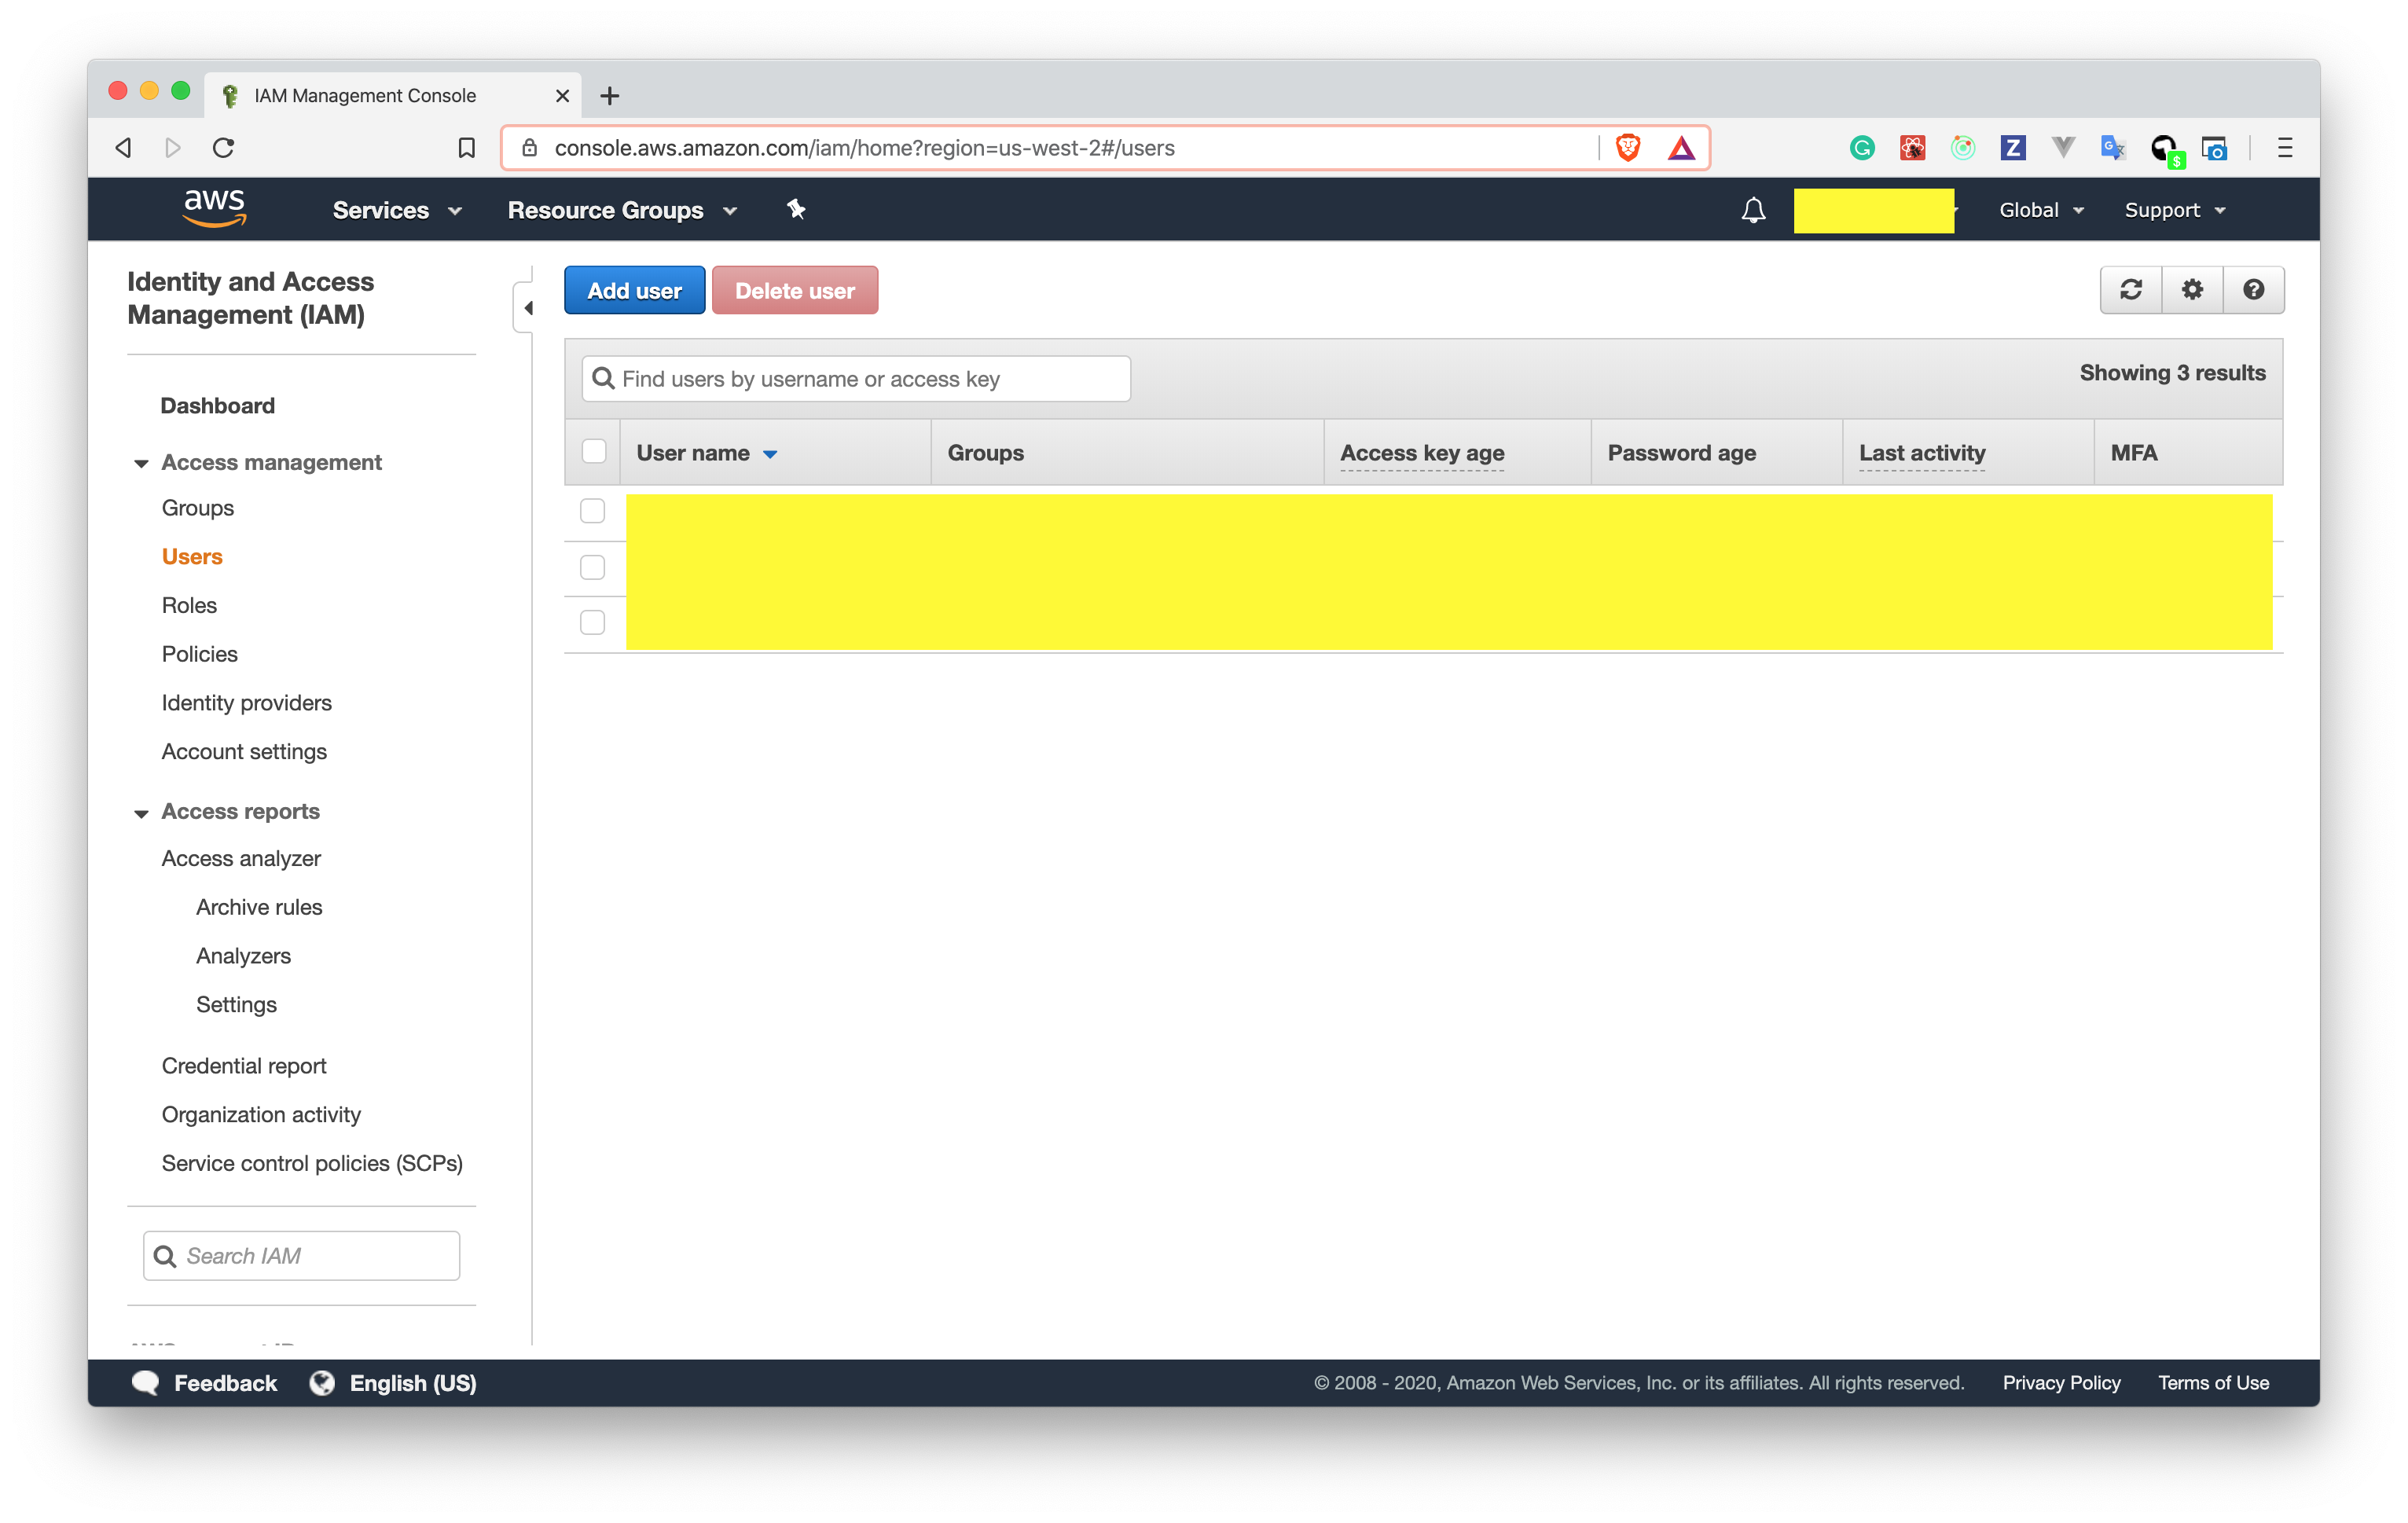
1. Login to AWS Console. Go to IAM, and click on Users from the left sidebar. You will be to see the list of users as follows.
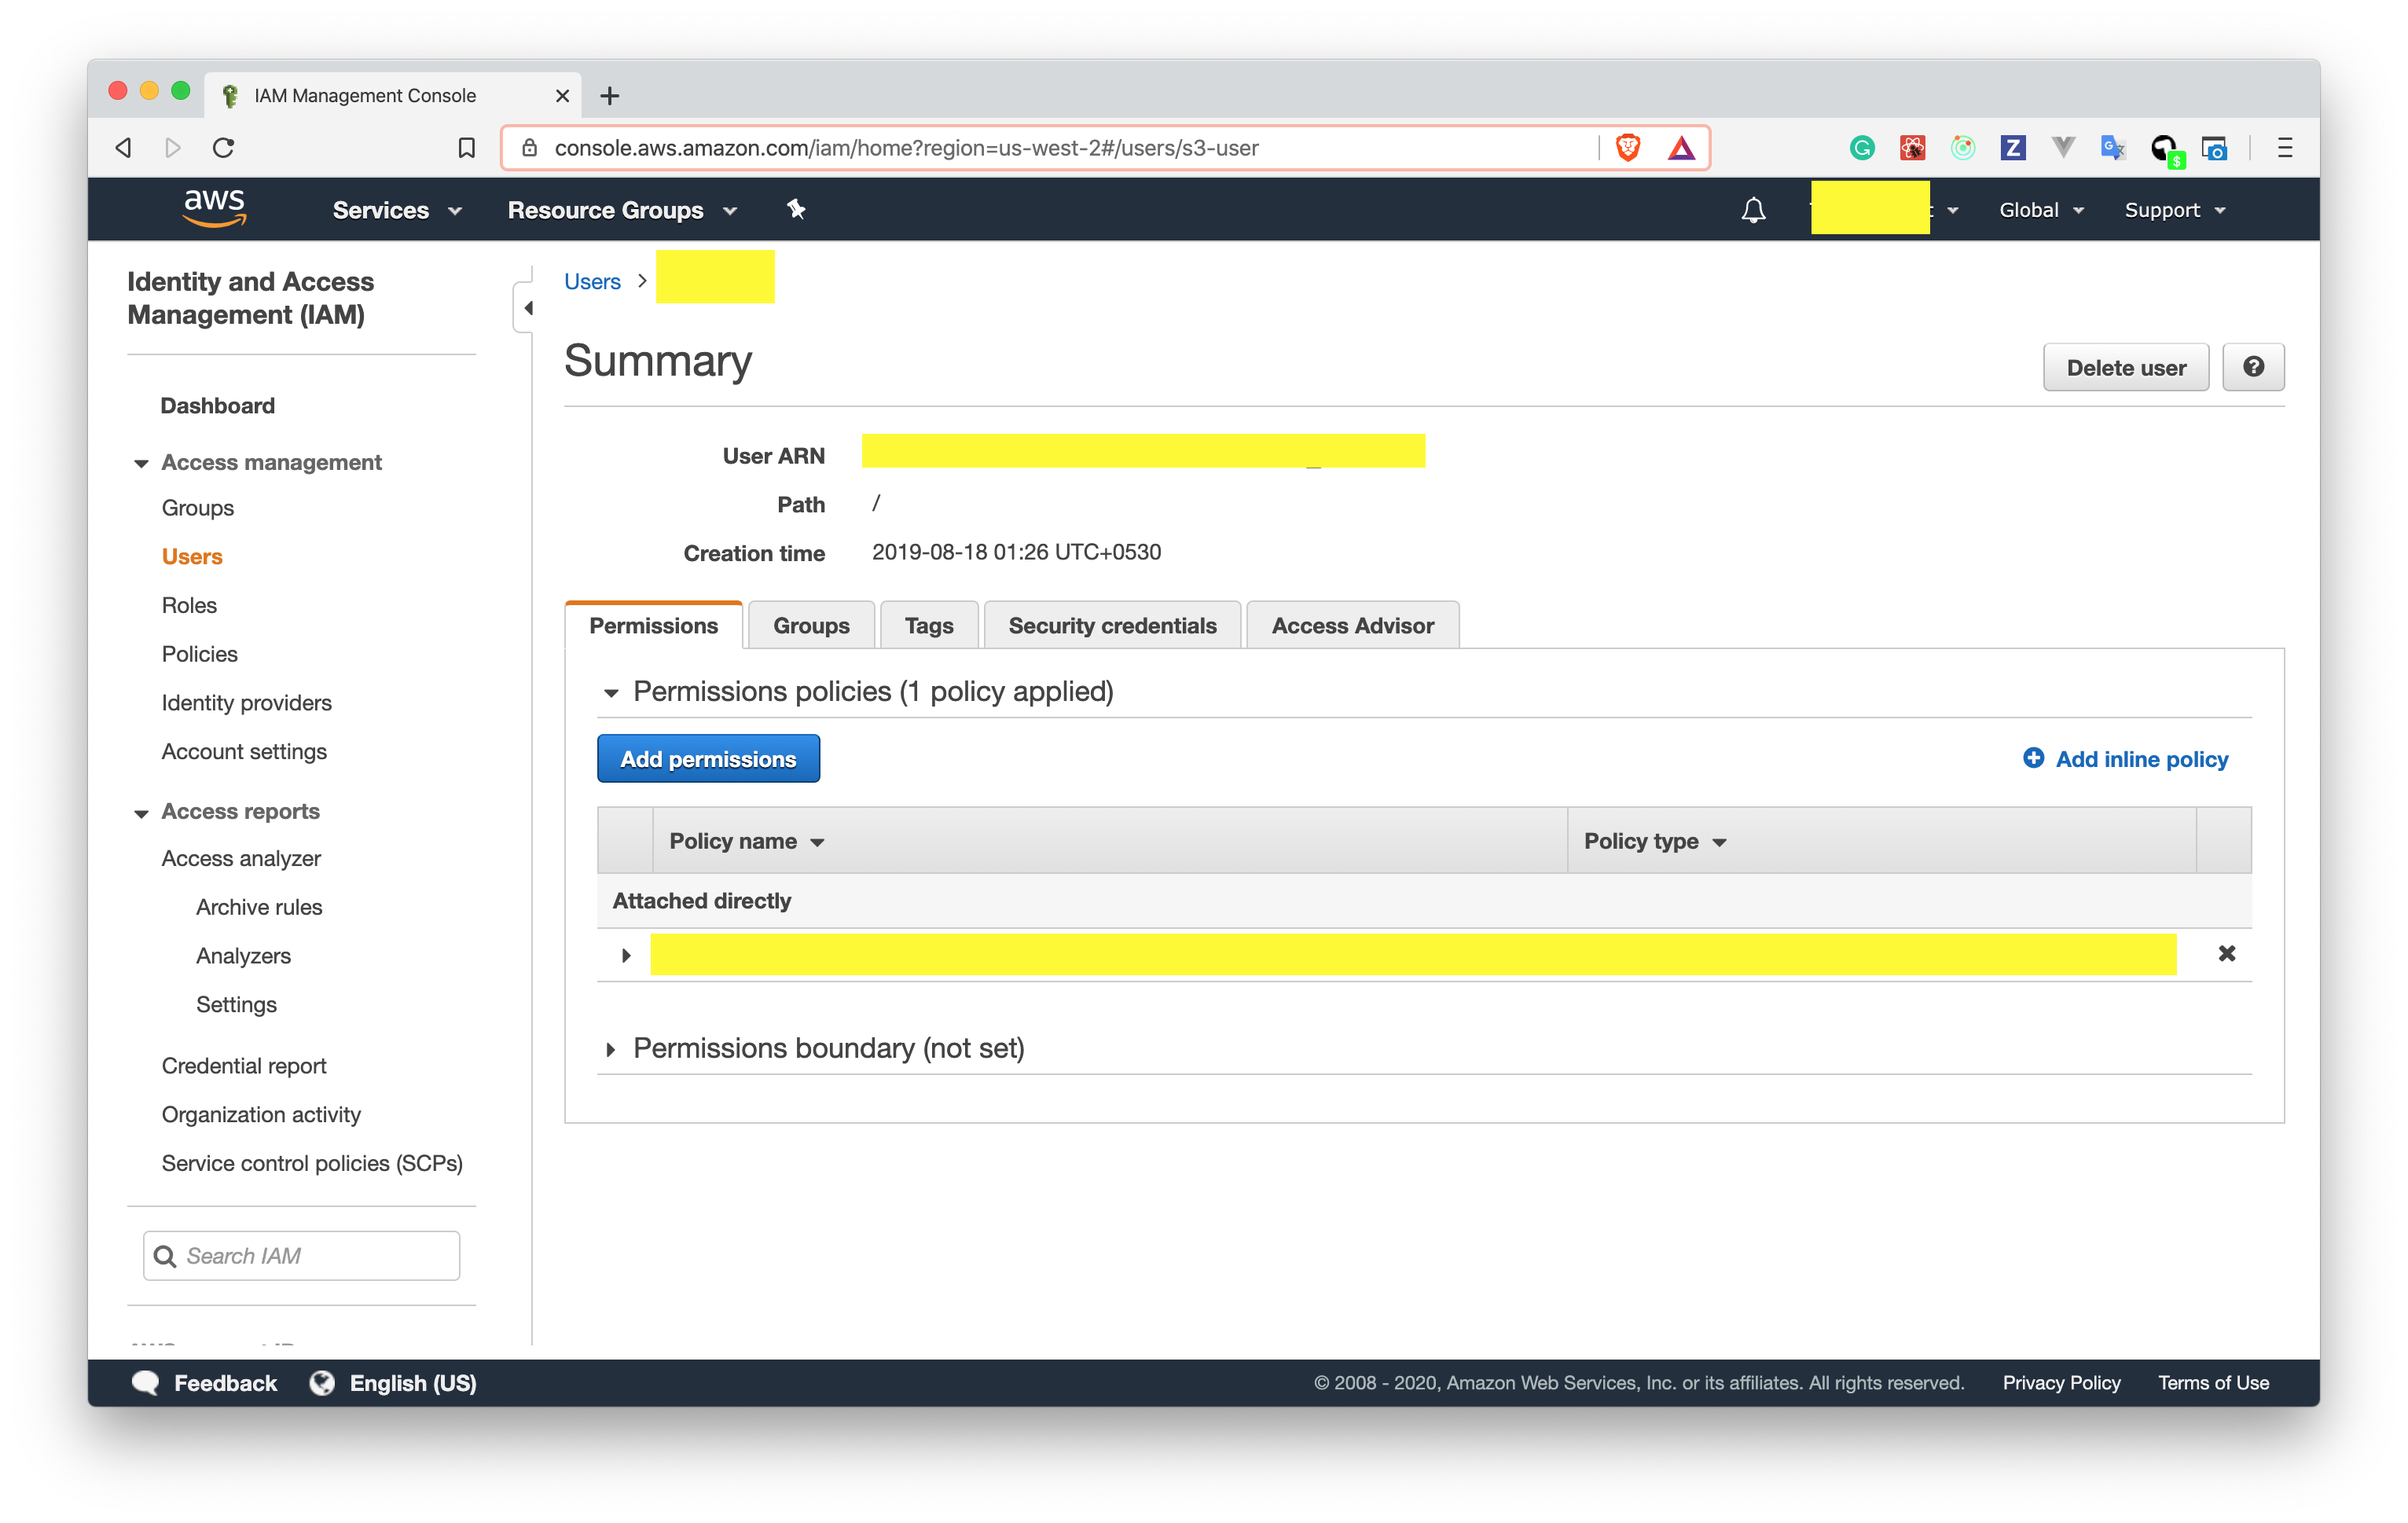
 2. Click on the user, you will be to see a screen as shown below. Copy the User ARN and paste it in the above policy.
 **Add CORS Configuration on your S3 buckets**
You need to configure CORS settings to the respective storage cloud to support Direct file uploads from the widget and the Chatwoot dashboard.
Refer to this link for more information: [https://edgeguides.rubyonrails.org/active\_storage\_overview.html#cross-origin-resource-sharing-cors-configuration](https://edgeguides.rubyonrails.org/active_storage_overview.html#cross-origin-resource-sharing-cors-configuration)
To make CORS configuration changes on S3:
1. Go to your S3 bucket
2. Click on the permissions tab.
3. Scroll to Cross-origin resource sharing (CORS) and click on `Edit` and add the respective changes shown below.
**Add CORS Configuration on your S3 buckets**
You need to configure CORS settings to the respective storage cloud to support Direct file uploads from the widget and the Chatwoot dashboard.
Refer to this link for more information: [https://edgeguides.rubyonrails.org/active\_storage\_overview.html#cross-origin-resource-sharing-cors-configuration](https://edgeguides.rubyonrails.org/active_storage_overview.html#cross-origin-resource-sharing-cors-configuration)
To make CORS configuration changes on S3:
1. Go to your S3 bucket
2. Click on the permissions tab.
3. Scroll to Cross-origin resource sharing (CORS) and click on `Edit` and add the respective changes shown below.
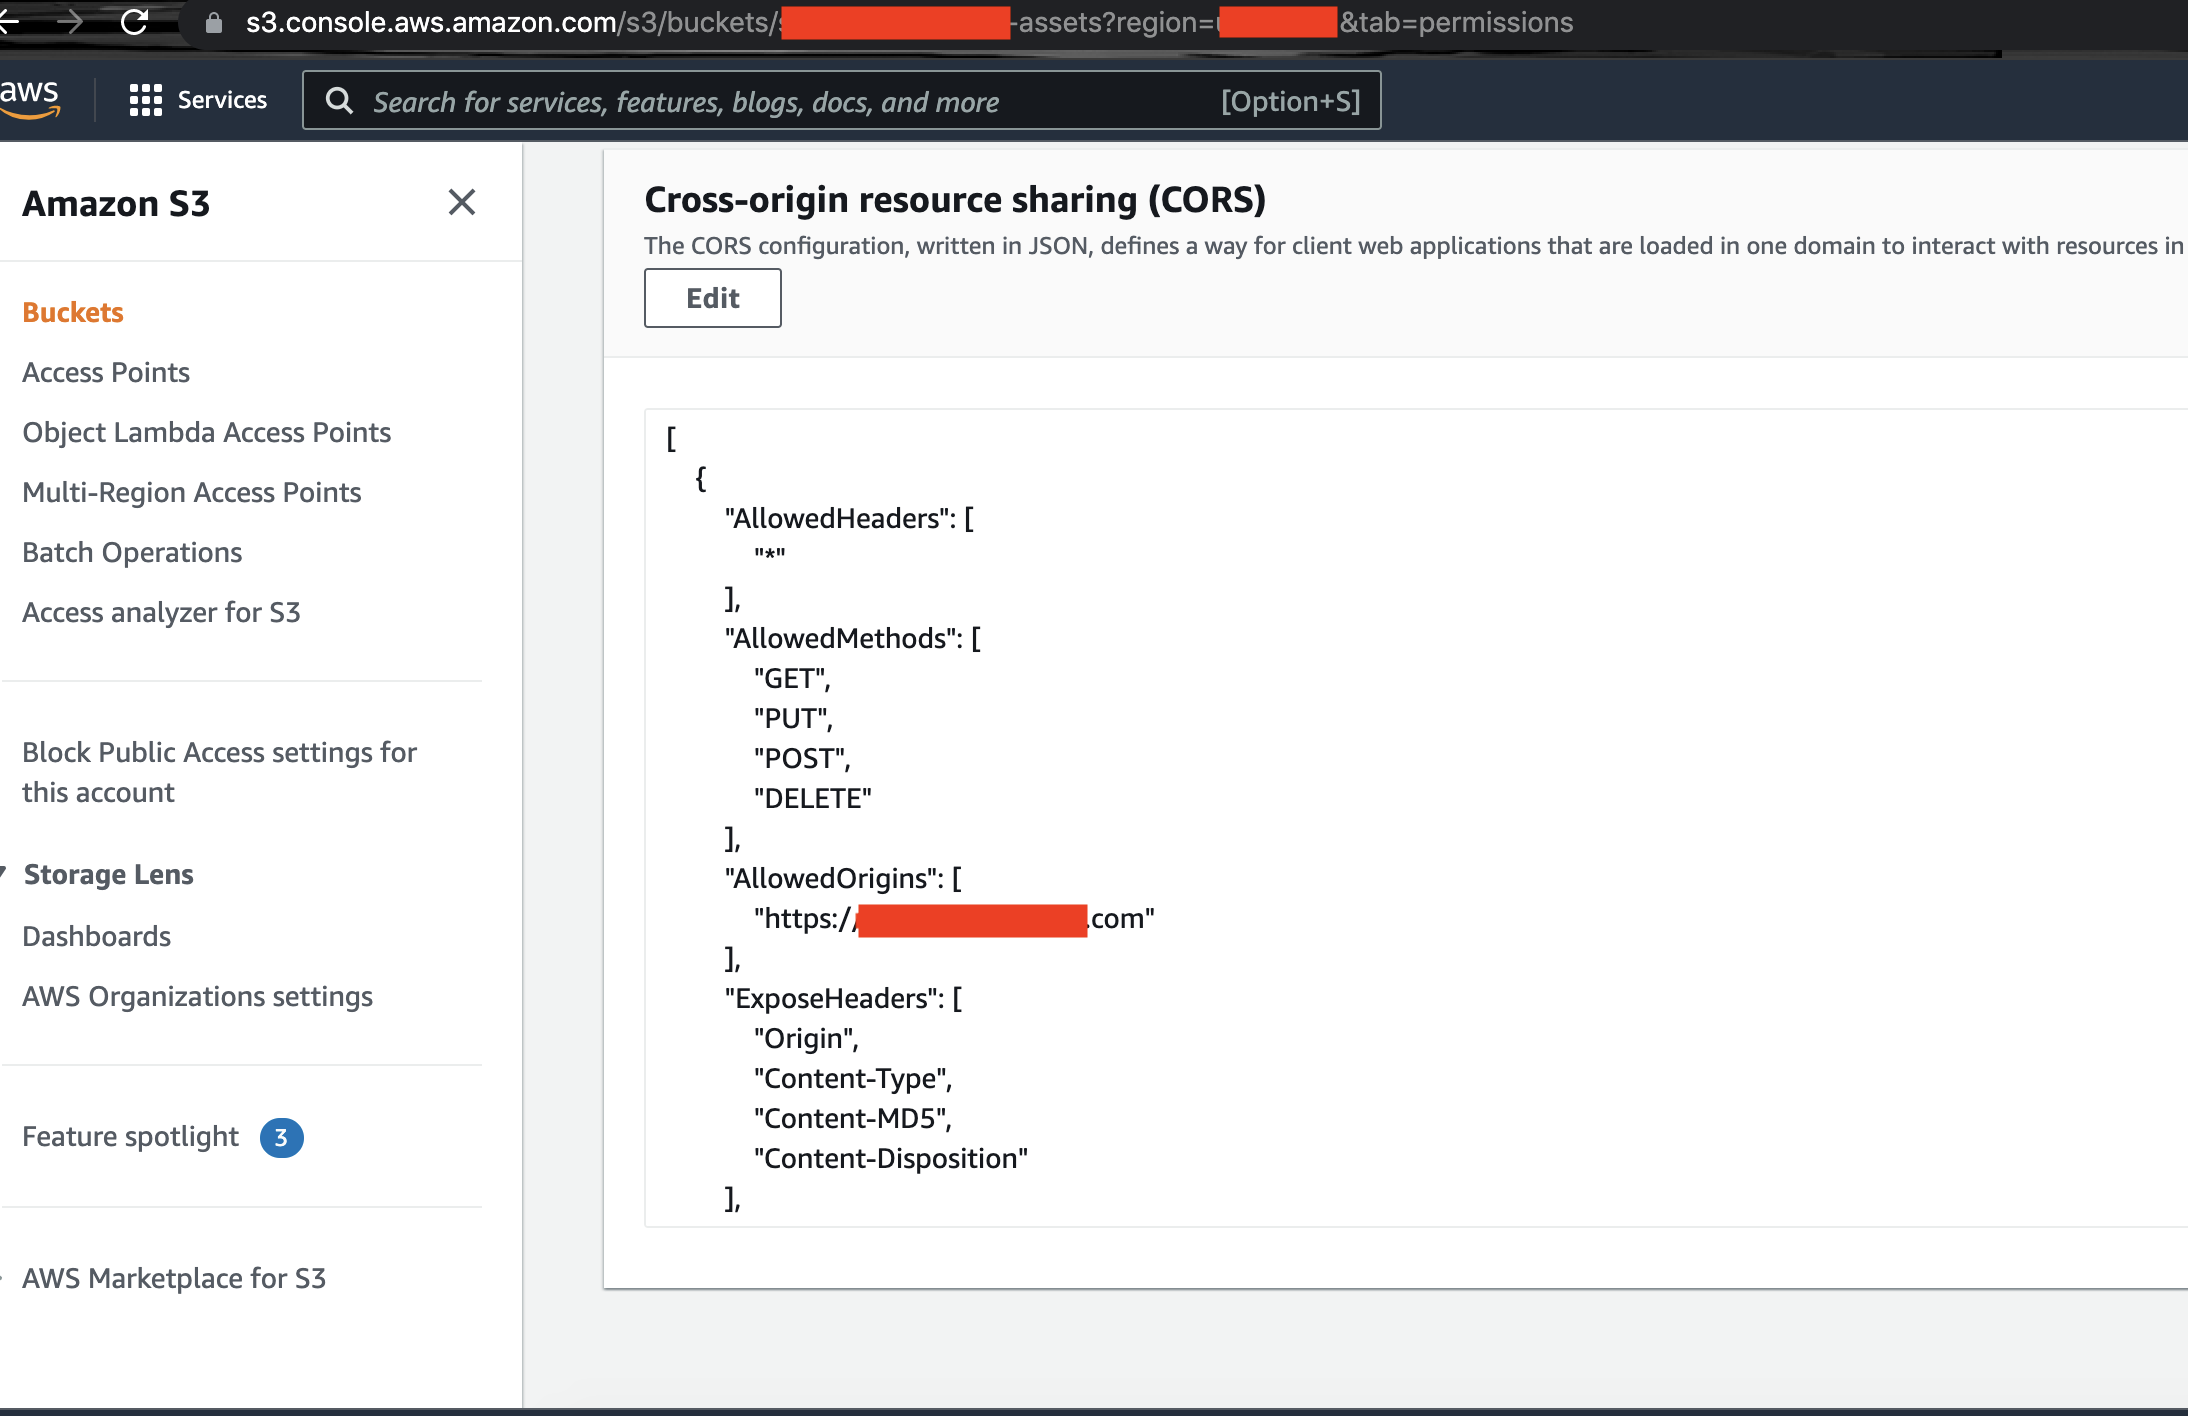 Add your Chatwoot URL to the `AllowedOrigin` as shown below.
```json theme={null}
[
{
"AllowedHeaders": [
"*"
],
"AllowedMethods": [
"PUT",
"POST",
"DELETE",
"GET"
],
"AllowedOrigins": [
""
],
"ExposeHeaders": [
"Origin",
"Content-Type",
"Content-MD5",
"Content-Disposition"
],
"MaxAgeSeconds": 3600
}
]
```
Add your Chatwoot URL to the `AllowedOrigin` as shown below.
```json theme={null}
[
{
"AllowedHeaders": [
"*"
],
"AllowedMethods": [
"PUT",
"POST",
"DELETE",
"GET"
],
"AllowedOrigins": [
""
],
"ExposeHeaders": [
"Origin",
"Content-Type",
"Content-MD5",
"Content-Disposition"
],
"MaxAgeSeconds": 3600
}
]
```